Your first guild
A guild is a workspace — a separate space for one group of people and all their work. Before you can do much, you need to be in one. There are two ways: join an existing guild, or create a new one.
Joining a guild (the usual way)
Most people join a guild that already exists, using an invite link from someone in the group (a guild administrator).
- Open the invite link. It takes you to Initiative.
- Sign in (or create your account if you haven't yet).
- You're in. The link adds you to the guild and drops you on its home screen.
That's all there is to it. The guild now appears on the guild rail down the far-left edge of the screen.
Invite links can expire
For safety, an invite link may have a limited number of uses or an expiry date. If yours says it's no longer valid, ask the person who sent it for a fresh one.
Creating a guild
If you're starting fresh — setting up a space for your own group — you can create a guild yourself, as long as your server allows it.
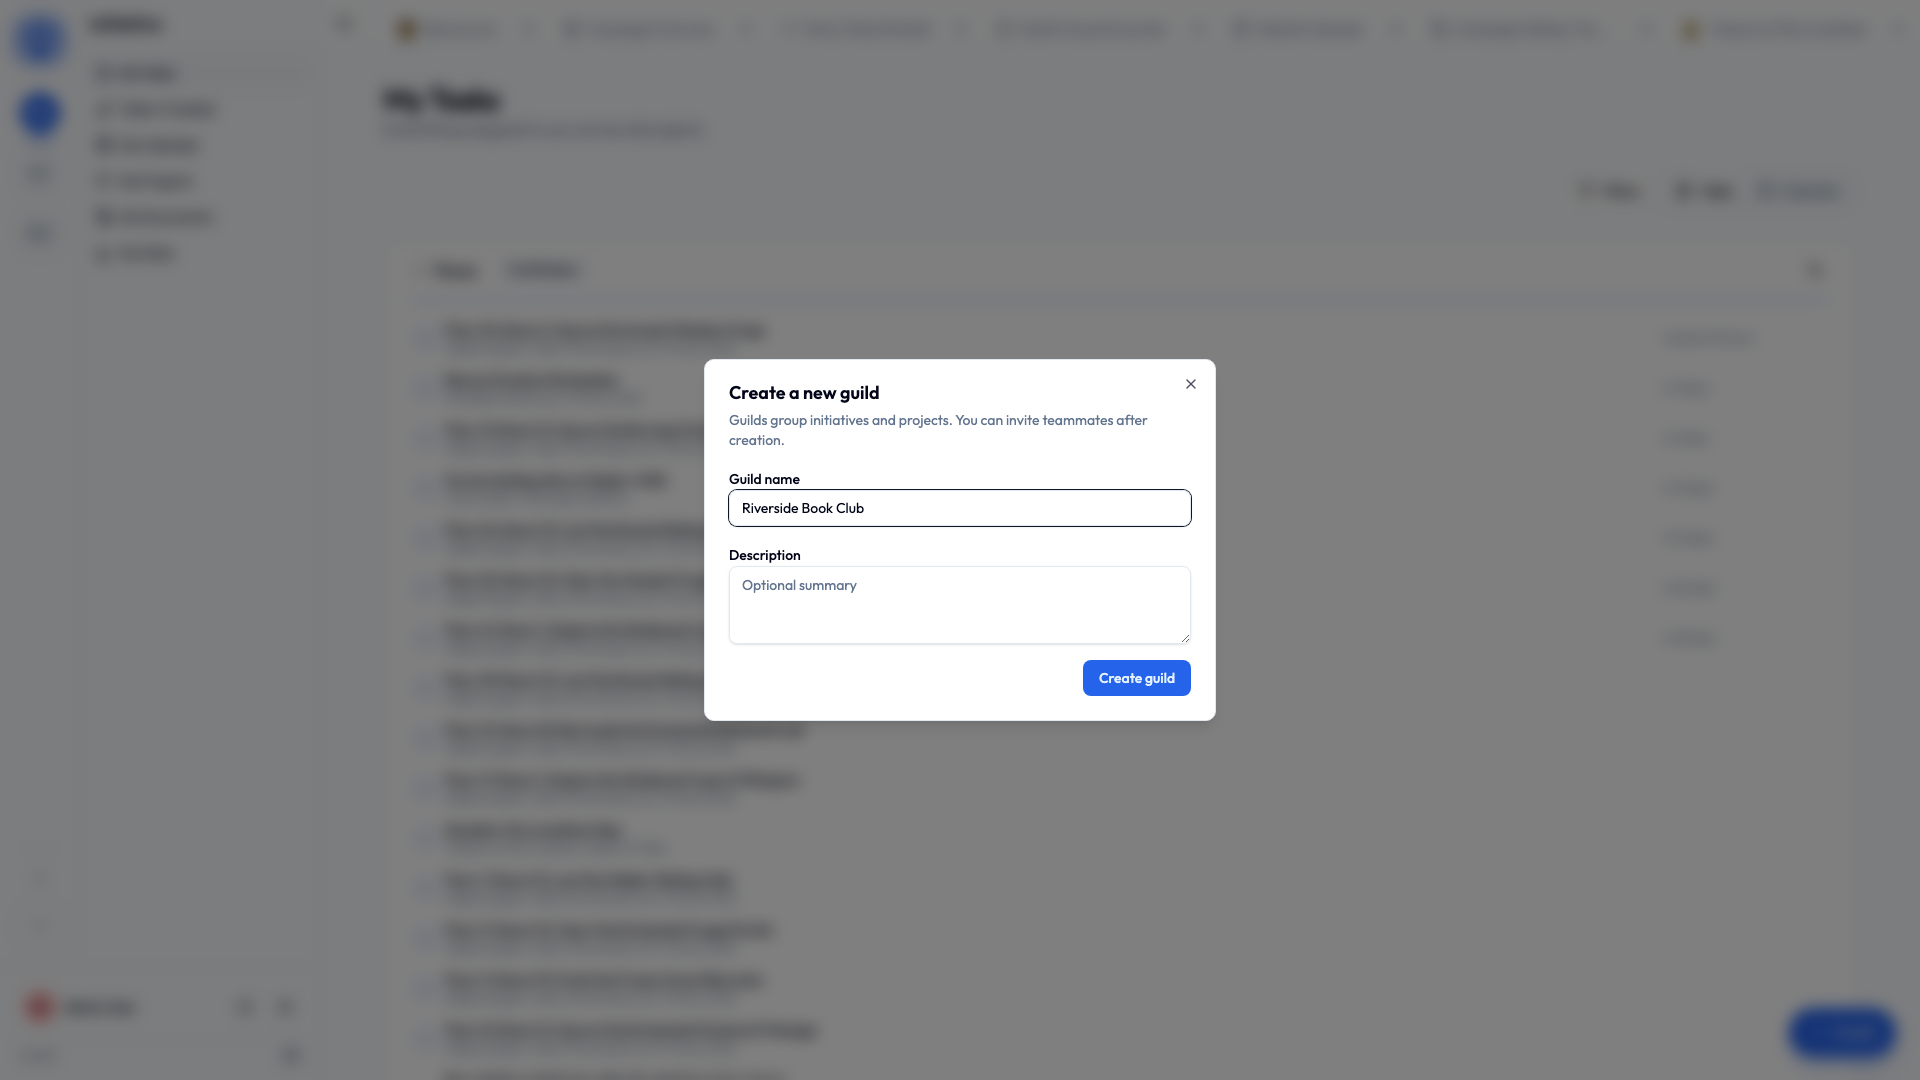
- On the guild rail down the far-left edge of the screen, choose Create guild (look for an add / + control on the rail).
- Give it a name — usually just the name of your group, business, or household ("Fairview Bakery," "PTA Committee," "The Nguyens"). You can add an icon to make it easy to recognize.
- Create it. You're now the guild's first administrator.
Don't see a 'Create guild' option?
Some servers turn off guild creation on purpose, so that everyone joins through invites instead. If you can't create one, ask an administrator to invite you to a guild — or to create one for you.
What you get in a brand-new guild
Every new guild starts with a Default Initiative — a ready-made folder so you have somewhere to put your first project right away. You can rename it, add more initiatives, and invite people whenever you like.
A natural first move is to create a project:
- Open the Default Initiative in the sidebar.
- Choose Create Project, give it a name, and you've got your first task board.
We cover all of this in detail in Using Initiative.
Switching between guilds
You can belong to as many guilds as you like — your workplace, your volunteer committee, your family — and each stays completely separate. Use the guild rail on the far-left edge of the screen to move between them — click a guild's icon to switch. Switching changes everything else (the sidebar, initiatives, and projects) to that guild and opens its front page.
For the technically minded — guilds are a hard boundary
A guild isn't just a label. Each guild's content lives in its own database schema, created when the guild is created, and a request is routed into exactly one of them — so you can only ever read or write guilds you belong to, enforced at the database level rather than in the interface. Two browser tabs can even sit in two different guilds at once without leaking between them. This is the foundation of how Initiative keeps groups' data apart; see How your data is kept separate.
Next
You're set up and in a group. From here, dive into how Initiative is organized to build a clear mental picture — or jump straight to the how-to guides.